Image Optimization And Why It’s Important
Have you ever been to a website that loaded very slowly? Did that website have some images that loaded abnormally slow, even though they weren’t that large in size? The reason for that may be that the images were re-sized improperly, most likely with a WYSIWYG (What You See Is What You Get) webpage editor such as Adobe Dreamweaver. This problem could have been avoided if the images were optimized.
Adobe Dreamweaver is a very powerful webpage editor that can be used to customize just about everything on your website, including specifying or adjusting the resolution of your images. When you click on an image you have inserted into Dreamweaver, you get the properties window, which allows you to specify the size of the image (resolution) and a host of other options.
Notice in the the above example the image file size is 4162K. That means it’s about 4162 kilobytes (or about 4 MB) which is very large. Also notice that the W and H (width and height) values are both in bold. That means that the current size of the image (266 x 140) is not the actual size of it (4096 x 2160). If you click on the refresh button next to the image size Dreamweaver will resize the image to the proper size (4096 x 2160).
If you change the size of an image using Dreamweaver’s image properties tab, you will just be changing the image’s resolution and not the actual file size. Using this method to downsize large images will make the images load very slowly.
![]() This is NOT a good method for re-sizing an image for a webpage!
This is NOT a good method for re-sizing an image for a webpage! ![]()
Dreamweaver wasn’t designed to be used for editing images. The purpose of the width and height boxes in the properties tab is to specify a resolution (size) for the image or object you have selected if there are no dimensions specified. A much better way of optimizing images is with Adobe Photoshop.
Using Photoshop to Optimize Images
If you have Adobe Photoshop, then you have the perfect tool for optimizing your images to display on your website. Here are some quick and easy steps to optimize your image in Photoshop:
1. Open the image (File > Open)
2. Re-size the image with the image properties window (Image > Image Size)
Notice at the top of the window where it says “Pixel Dimensions:” that the file size of the downsized image is now 109.3K which is a whole heck of a lot smaller than the original image file size of 25.3 MB.
3. Instead of “Save” or “Save As” use the “Save for Web & Devices” option (File > Save for Web & Devices).
If you look at the top right corner of the Save for Web & Devices window you will see these options:
Most of the time, I alternate between the 70 and 60 quality setting depending on the size of the image. I have set this image to the JPEG High preset, which gives the image 60 quality by default. If you are re-sizing an image for a thumbnail (320 x 240 or below) 60 is a great setting because you won’t see any degradation in quality from the original. I use the 60 quality setting most of the time, unless the image is very large (1024 x 768 or larger).
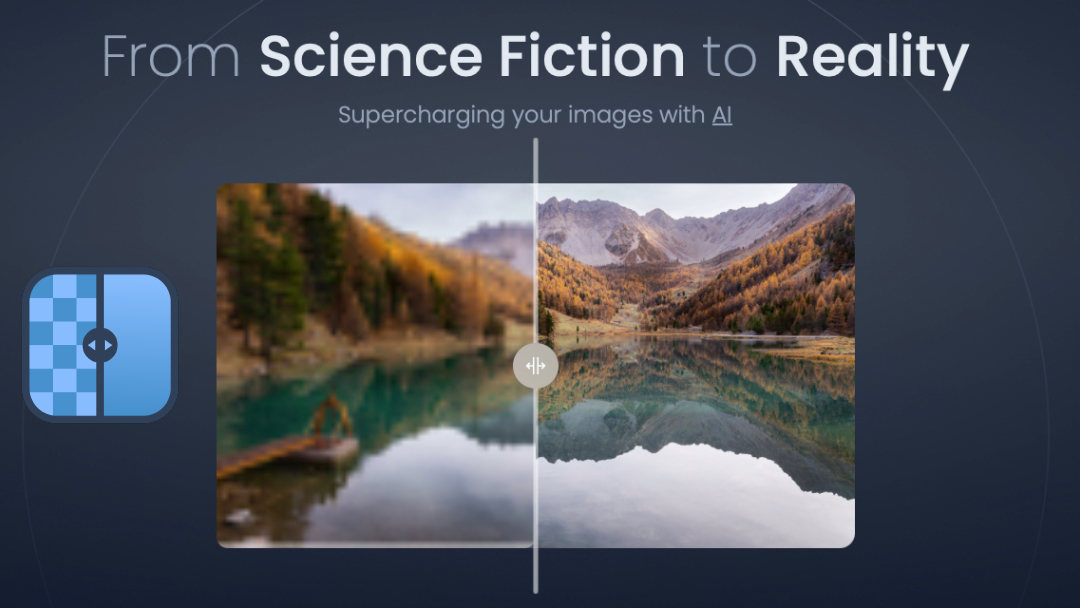
Original quality vs 60 quality
The original on the left is full quality (no compression) and the optimized on the right is 60 quality. At this smaller size, it’s hard to see any degradation in image quality at the 60 setting. As you can see, the optimized image on the right has an estimated load time of 3 seconds for a 56k dial-up connection. Of course, most users today have cable and other much faster connections, but it’s nice to know that even on the slowest connection, the image still won’t take too long to load.
4. Upload the new and improved image to your website!
Now you’re ready to load the optimized image(s) into Dreamweaver or whichever editor you use for your website.
Video of Image re-sized using Dreamweaver vs. Photoshop Method
As you can see in this video, the image that was optimized using my Photoshop method (on the left) loads a lot faster than the image that was re-sized using only Dreamweaver (on the right). The optimized image loads almost instantaneously!
If you don’t have Photoshop, there are several other free tools you can use to optimize images for your website such as DynamicDrive.com’s Online Image Optimizer, which uses the same quality settings as Photoshop’s “Save for Web & Devices,” or RIOT (Radical Image Optimization Tool).
If you know of any other tools or methods you can use to optimize images, let us know in the comments!


